
A U-shaped wardrobe runs around three walls of a small room or dressing area. It holds a lot, but the two inside corners make it harder to design and to cut than a straight run. Here is how to build one in Woodkraft, from an empty room to a signed quote. The example room is 3600 × 3000 mm.
1. Start a new job
Start a new job and give it a name you will recognise later, such as the client's name and the room. Then open the Room planner from the side bar.
2. Draw the room
- Press Draw the walls and click where the first corner goes.
- Move along the wall and type its length: 3600, then press Enter.
- To turn a corner, type the length, the @ sign and the angle: 3000@90.
- Then 3600@180.
- Click the first corner and the room closes itself.
3. Add the door
Choose Door and click on its wall. Drag it into place, or type its exact distance from the corner. The wardrobe will keep clear of it.
4. Place the U-shaped wardrobe
Click the back wall, open the Wardrobes tab and pick the U-shaped wardrobe. Woodkraft asks for the back wall and how far the wardrobe runs along each side wall. In the example both sides run 1800 mm, at 2300 mm high and 600 mm deep.
Each inside corner gets a blind corner wardrobe, so the corner space is used rather than boxed in, and the long runs are split into sections. Press Add to the room. Every unit can still be edited on its own.
5. Plan the inside
Click a unit and open its layout. You see the unit in 3D with the doors open. Click a space to fill it: hanging rail, shelves, drawers or a shoe rack. Shut the doors and turn the unit round to check it, then press Done and Apply.
6. Choose the style
The style panel changes the whole room at once. Pick the door colour (the example uses light oak), then a handle and a finish.
7. See it
The front view shows each wall with every size on it. The 3D view is what your client sees: drag to turn the room and walk them round it.
8. Check the design
Press Design check. Woodkraft reads the whole design for mistakes, such as a unit that overlaps another or the door, one taller than the ceiling, two units too tight in a corner, or a unit too big to carry in through the door.
9. Add your prices
Type what you pay your supplier for each board, edging and fitting. You only do this once: Woodkraft keeps the prices for every job after. See how to price a wardrobe in Ghana for what to include.
10. Send it to the cut list
Press Send to cut list. Every board, edge and fitting goes across in one click. Open Cutting and press Optimize for cutting plans with every part on its sheet. The cut list gives saw sizes with the edge banding already taken off. More in how to make a cut list.
11. Print the drawings
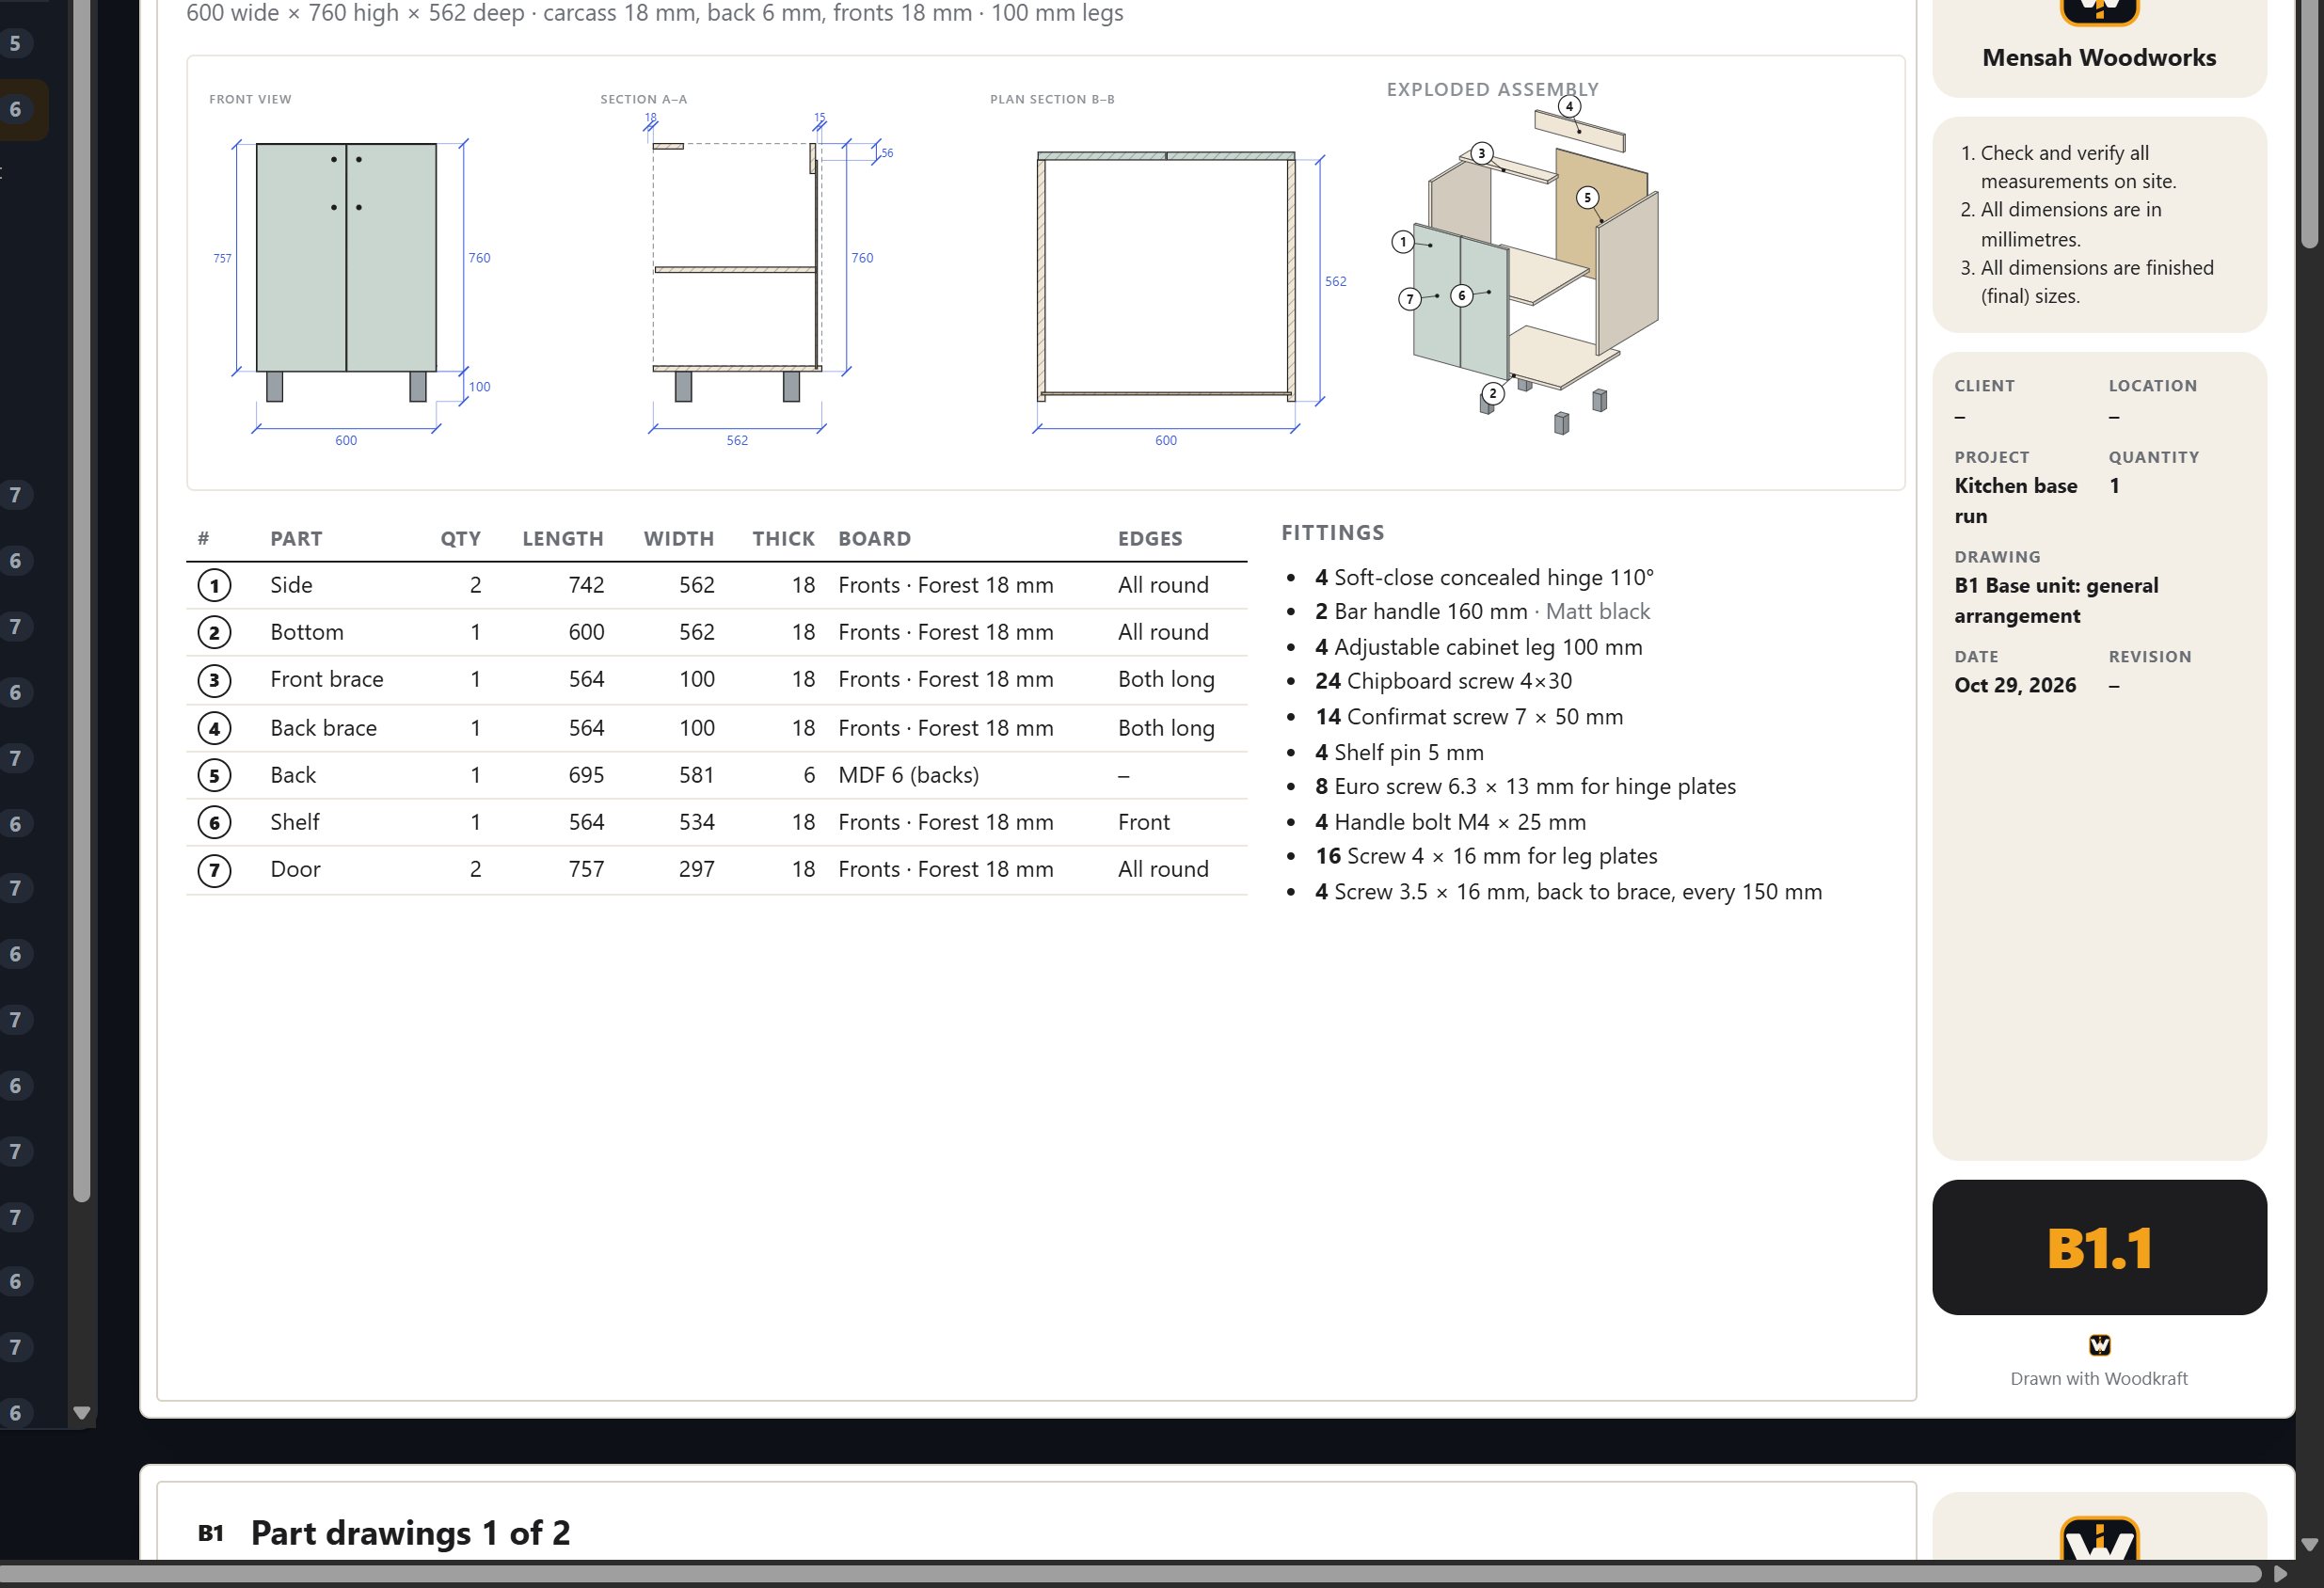
You get the floor plan and every wall elevation, then a sheet for each cabinet with its sections and parts, ready for the workshop.
12. Price the job and send the quote
Open Estimate and add your labour and markup. Then open Quote, press Create quote and type your client's name. Everything on the quote is priced from the real cut list. Add a deposit, then save it as a PDF or let the client sign on the screen.