
A TV wall is often the first thing a visitor sees in a living room, so clients want it to look finished: a slatted panel behind the screen, a floating unit below it and lit display cabinets either side. This tutorial builds one in Woodkraft, piece by piece, then takes it all the way to a quote. The example room is 4800 × 3600 mm.
1. Start a new job
Start a new job, give it a name, and open the Room planner from the side bar.
2. Draw the room
- Press Draw the walls and click where the first corner goes.
- Type the first wall's length, 4800, and press Enter.
- Turn the corner by typing length, @ and angle: 3600@90, then 4800@180.
- Click the first corner to close the room.
3. The slatted panel
Click the TV wall and open the TV units tab. Drag the slatted wall panel onto the middle of the wall: it lands where you drop it. Click it to change it. The example uses 60 mm slats with a halo light behind. Press Apply.
4. The TV unit and the TV
Drag the floating TV unit to the middle, in front of the panel. It hangs on the wall, with drawers, a lift-up flap and an LED strip underneath. Then drag a TV onto the wall above it (65 inches in the example) so the client sees the real proportions.
5. Display units
Drag a tall display unit to each side of the panel. These have glass doors with lights inside at the top and a cupboard below.
Short on time? The Feature walls tab has ready-made TV walls you can drop in and then change.
6. Choose the style
The style panel changes the whole room. The example uses walnut for the doors and drawers, with push-to-open instead of handles for a clean front.
7. See it
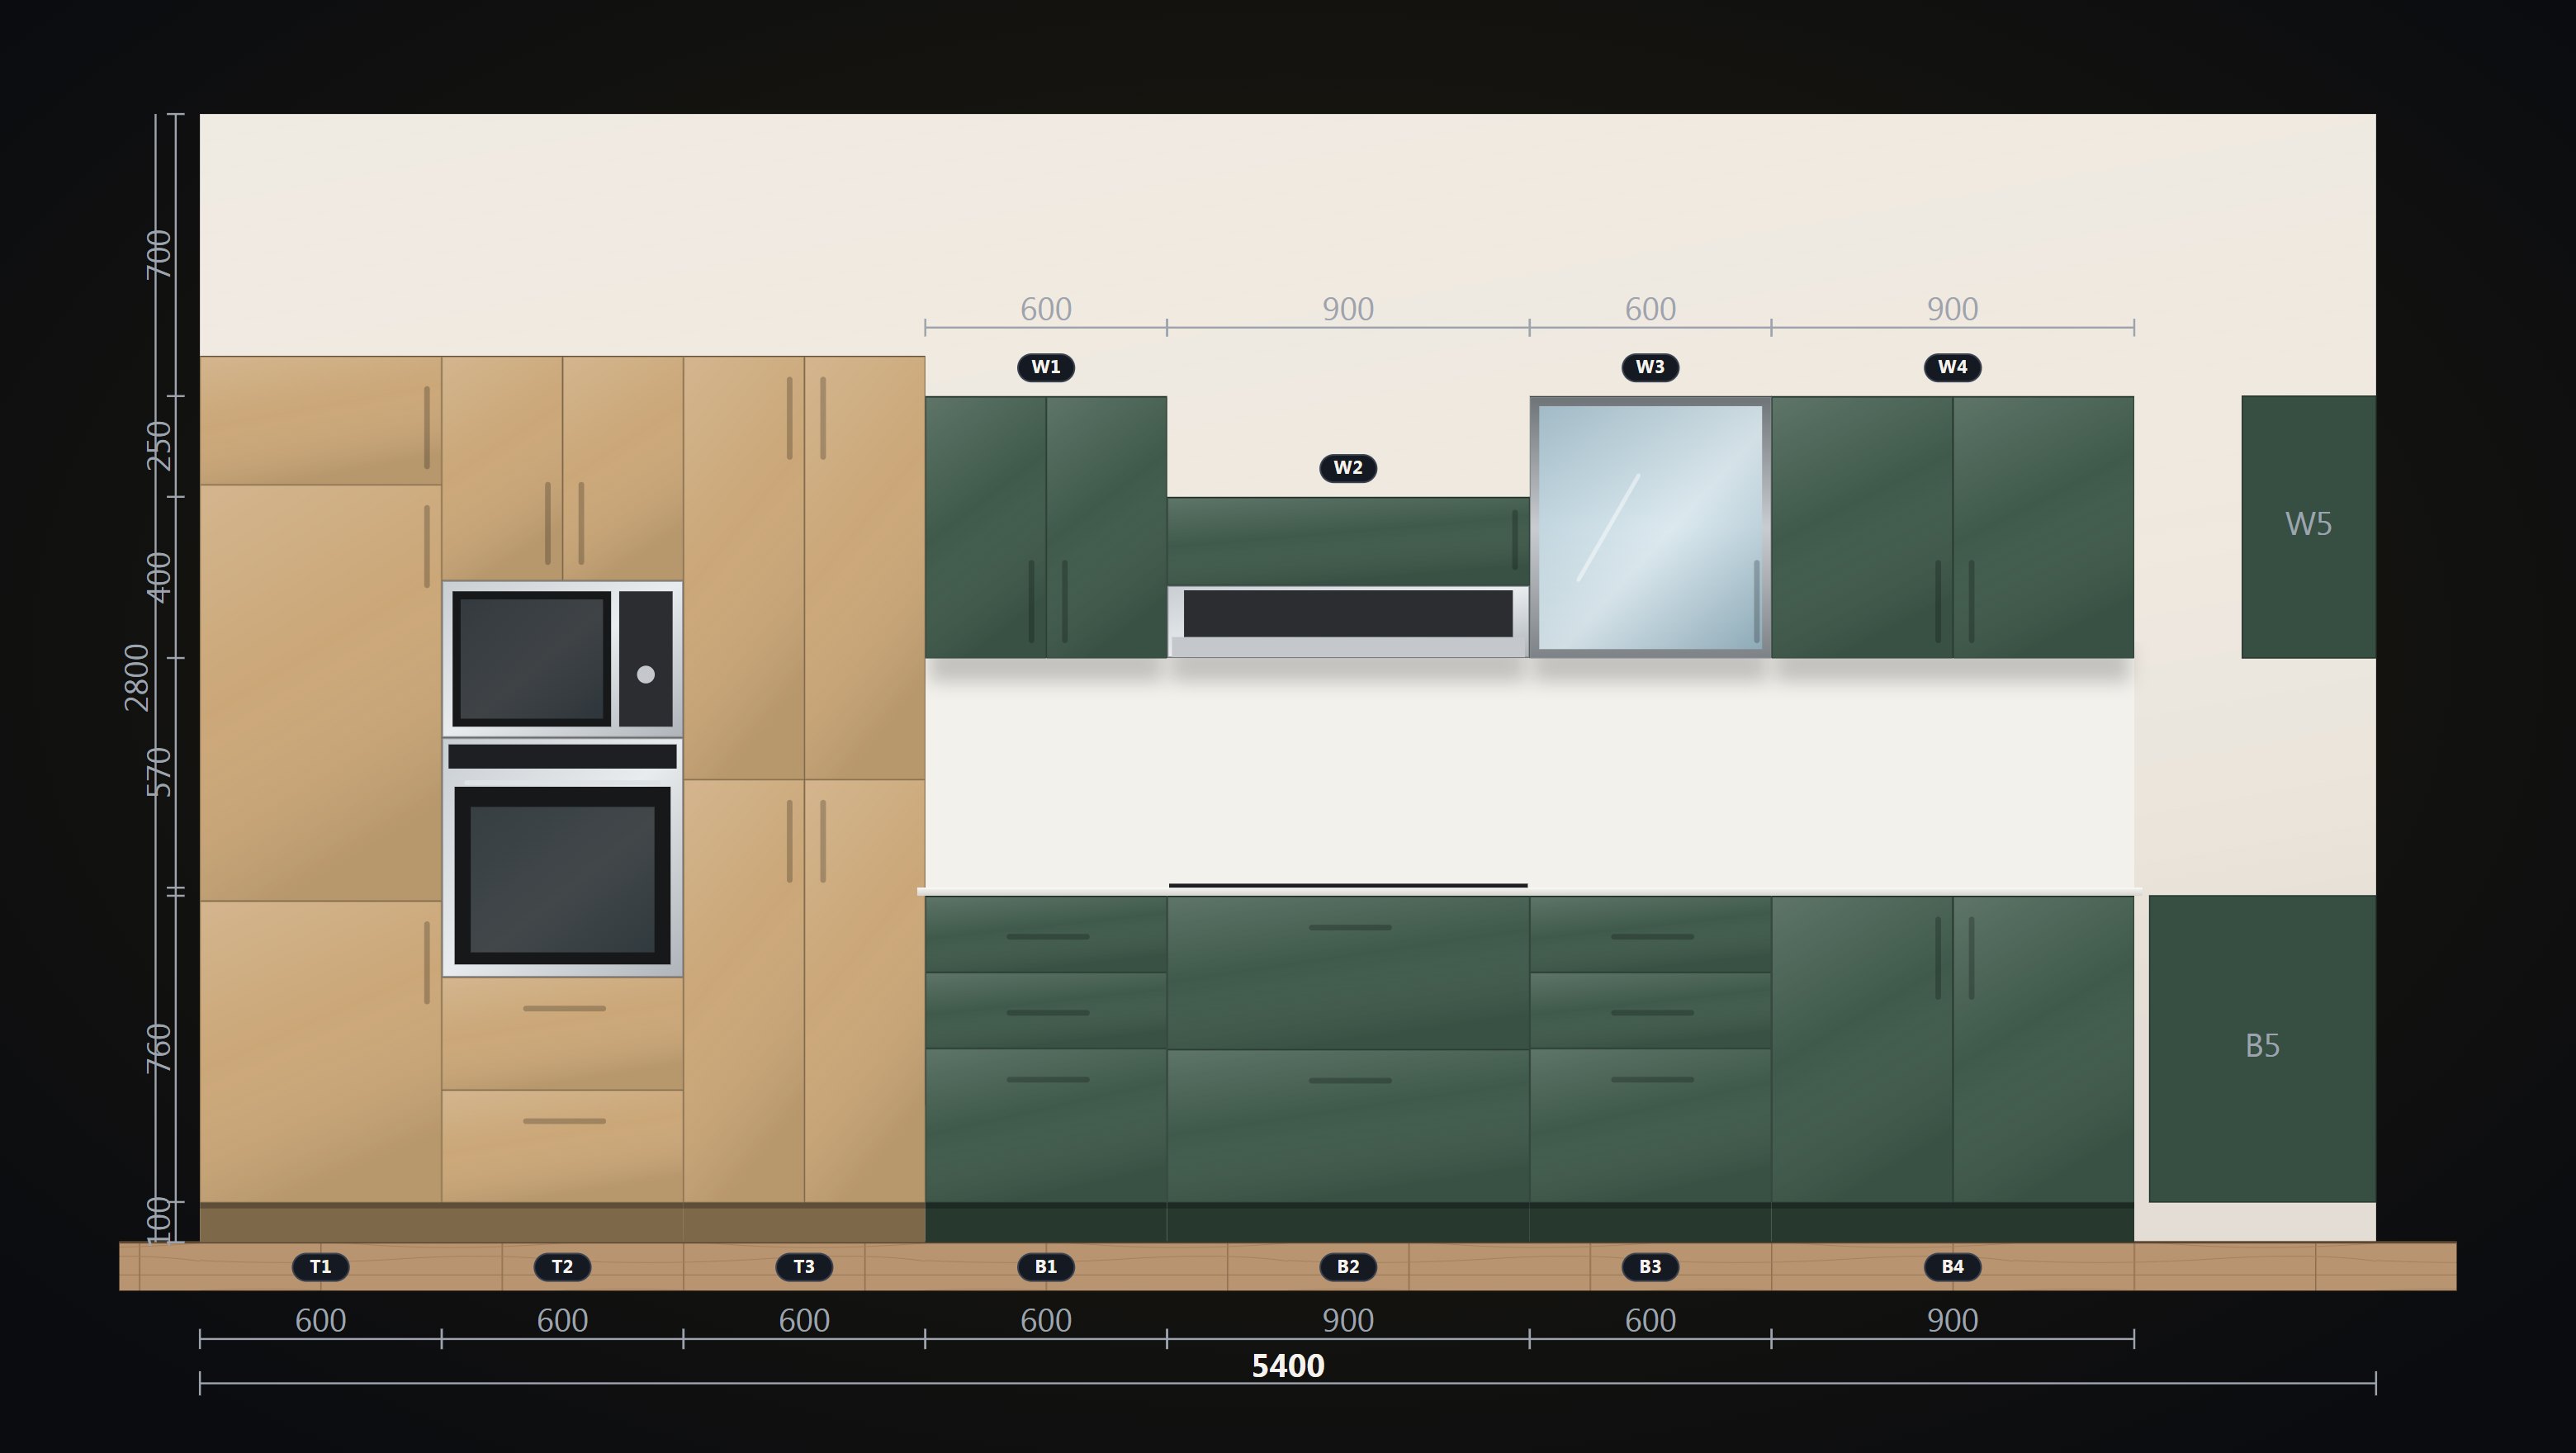
The front view shows the wall with every size on it. The 3D view is what your client sees: drag to turn the room.
8. Check the design
Press Design check and Woodkraft reads the whole design for mistakes before anything is cut.
9. Add your prices
Type what you pay your supplier for each material once. Woodkraft keeps the prices for the next job too.
10. Send it to the cut list
Press Send to cut list, open Cutting and press Optimize. You get cutting plans with every part on its sheet, and a cut list with saw sizes, the edge banding already taken off. Slats come out as parts like everything else. See how to make a cut list.
11. Production drawings
Print the floor plan, the wall elevations and a sheet for each cabinet.
12. Price the job and send the quote
Open Estimate to add labour and markup, then Quote and Create quote. Type the client's name, add a deposit, and save the quote as a PDF or let the client sign on the screen.